|
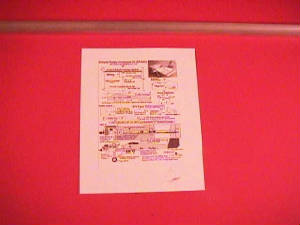
Here I’m starting my new creation the SPA3D. The first thing to do is gather everything you need, but most important
is to have a print out of the plans. I download them from WWW.SPADTOTHEBONE.COM
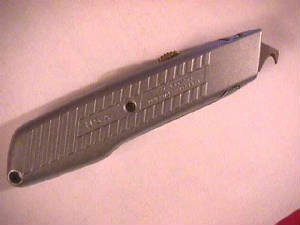
This is one of the tools I use to cut hinge flutes with. The hook keeps the knife from cutting both sides and makes trimming
a snap!!
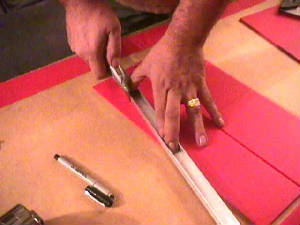
I find that making multiple light passes instead of trying to cut through with just one or two strokes makes a much cleaner
cut.
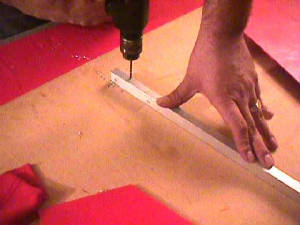
After measuring for the tail feathers, I pre-drill the holes for the #6 x ½" screws which will be used to hold them on.
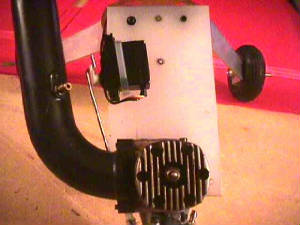
Here is another view of the motor mount. Notice the difference in the way I mount the servo. Most cut a servo slot and
screw the servo down, but I have heard of motor mounts breaking at the servo cut out. I use double sided foam tape from WalMart
and a zip tie. This servo isn’t going anywhere.
|
 |
|
|

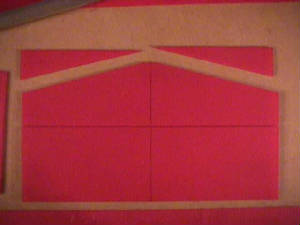
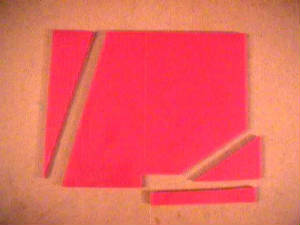
Here are the basic cutouts of the tail feathers, above them scarcely in view is the rectangular wing cut out.
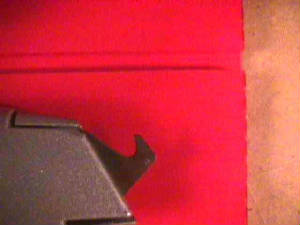
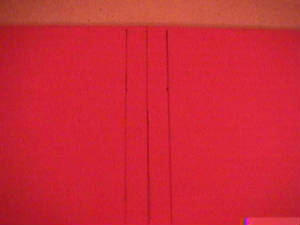
Here is a close-up of a single side of the flute removed to make a hinge. This is done for both the wing ailerons, elevators,
and rudder.
This is the horizontal stabilizer and elevator which is one piece. It doesn’t get any simpler than this.
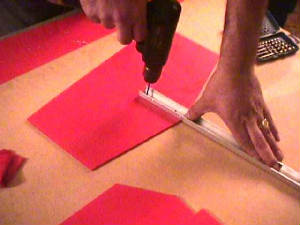
I then use the pre-drilled holes in the fuselage to drill the tail feathers. Scrap PVC will be used as backing plates to
hold the tail feathers on. Remember to use CA glue between the backing plate and coroplast. This will keep the holes in the
coroplast from elongating.
This project is a work in progress, I will add more pictures as I complete the plane.
Thanks for visiting and I hope that you will join our new forum board so that we can
get some topics up and running. (Please do so....it's kind of dead in there :)
|
|
|
|
|
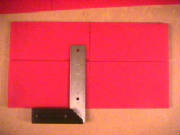
After cutting out the basic shapes, I then go through and draw center lines down the wing and elevator. I do this on the
bottom sides so the lines will not show up when the plane is completed. The right and left lines you see are
traced from the aluminum channel I use for the fuselage. Later when I cut out the fuselage slots
for the wing, these reference lines will make this task much easier.
|
|
|
Plenty of squares of different shapes and sizes are a must for layout work.
Even this vertical stabilizer and rudder only took a few minutes to cut out. This is great if you ever need to replace
parts. Even a wing can be cut and replaced in about an hour.
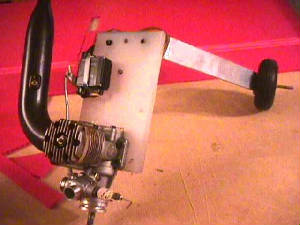
This is the motor mount setup which came from one of my other SPADs. The mount is made from a poly kitchen cutting board
and measures 3x5 inches.
|
|